Checking in for Worship via Touchpoint
Last year, we changed church databases, and along with it, we changed our check-in process for worship. We made this change for several reasons. First, our old database was no longer functional. We could not pull reports from it and were regularly struggling to use it to track any kind of information (like membership in a group and attendance). Second, when attendance was entered previously, it was not tracked. We had no way to easily tell who attended from week to week. With this switch, attendance is usable and trackable. We can tell when someone has been missing (assuming they register in some way), and we can pull needed reports from the system. Also, now the online check-in goes into the system that we actually use, instead of a Google sheet. By putting it into the system, you save staff time! Below, you’ll find instructions for checking in to worship on a Sunday morning without signing in to a Touchpoint account. If you are signed in to your account, this process will look different.

Step 1:
Open your phone’s camera and point it at the QR Code in the bulletin.

Step 2:
Click on the link that comes up (pictured here in yellow). It should take you to a landing page that looks like the one below.

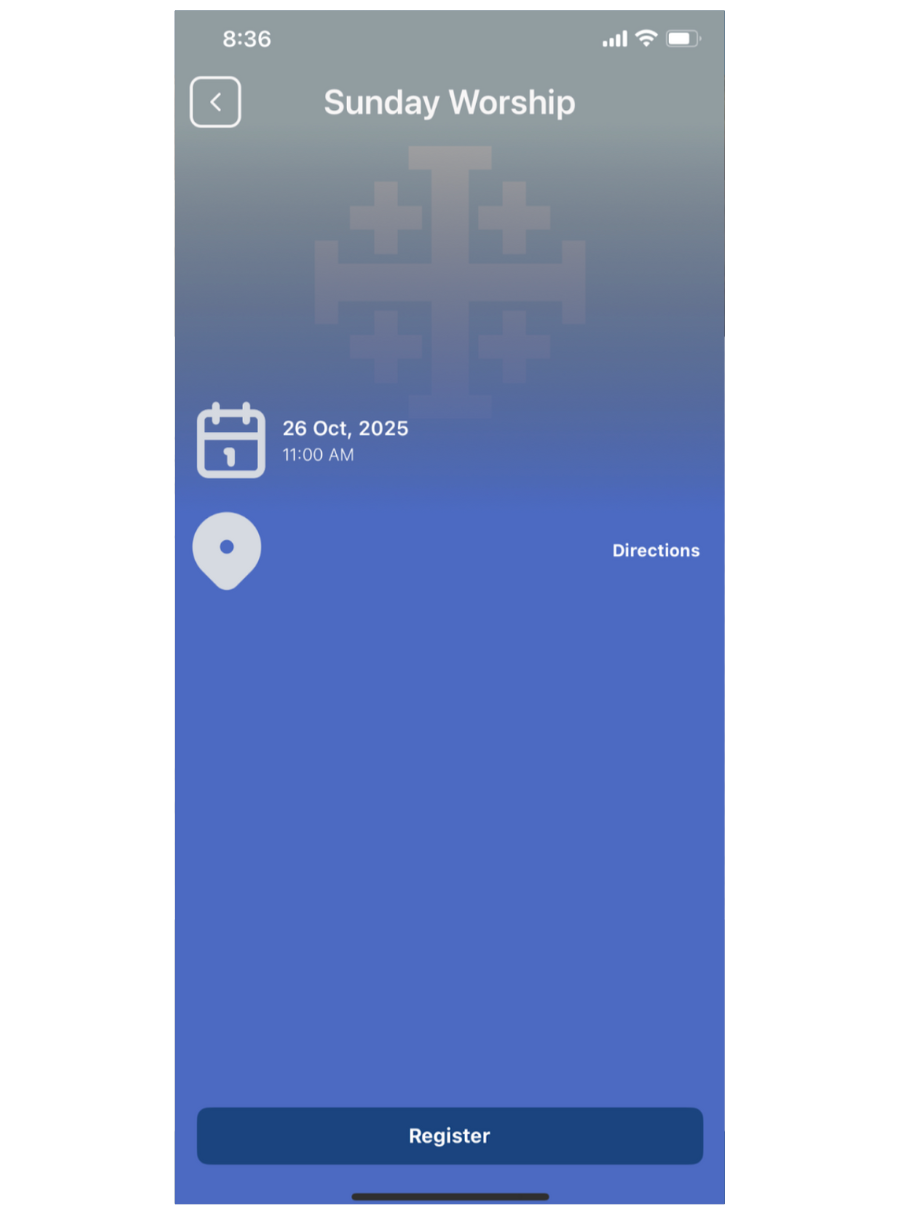
Step 3:
Click on “Check In.” It should take you to a page that looks like the one below. It is on a timer for the worship service you are attending, which both means that it is currently not accessible during the week, and that it will not ask you for a service. Based on the time you register, it will put you into a service.

Step 4:
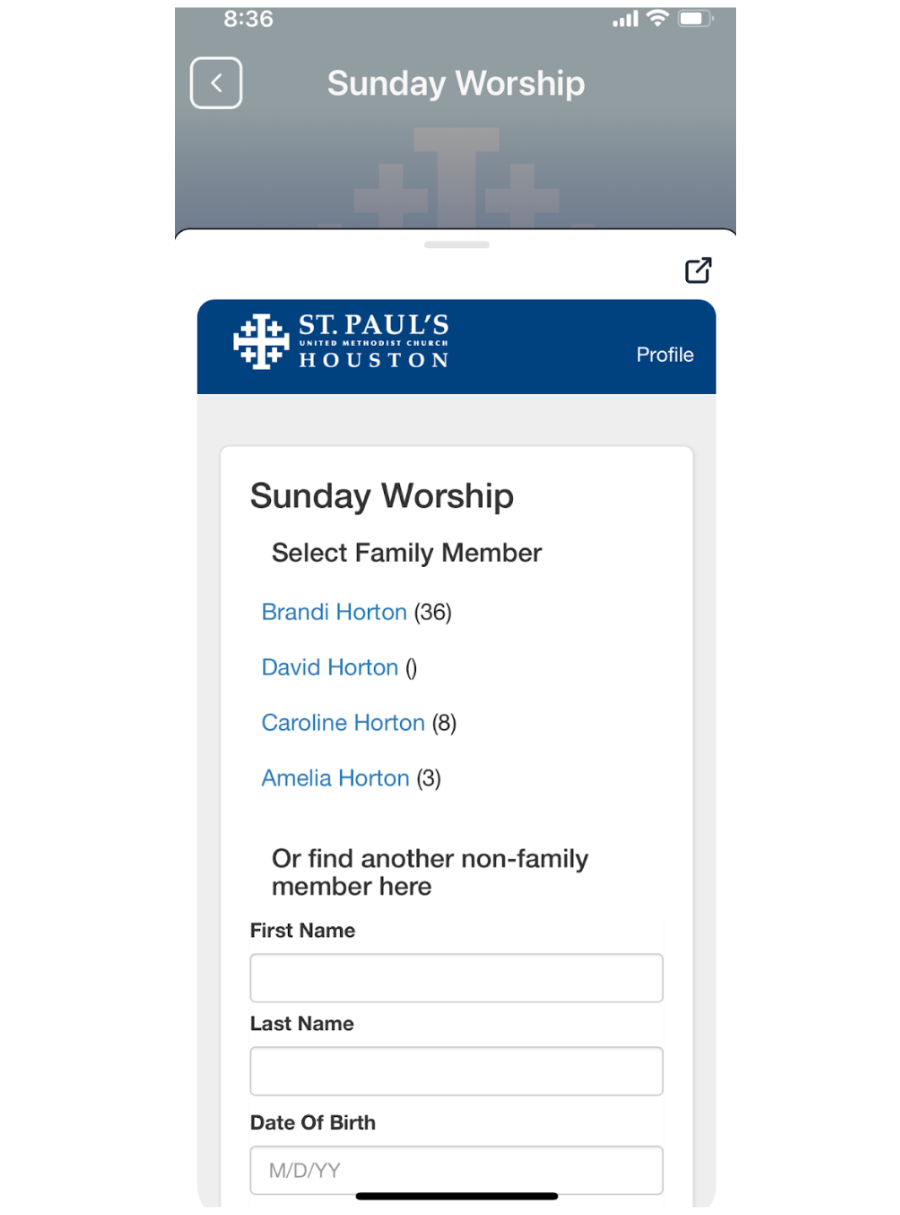
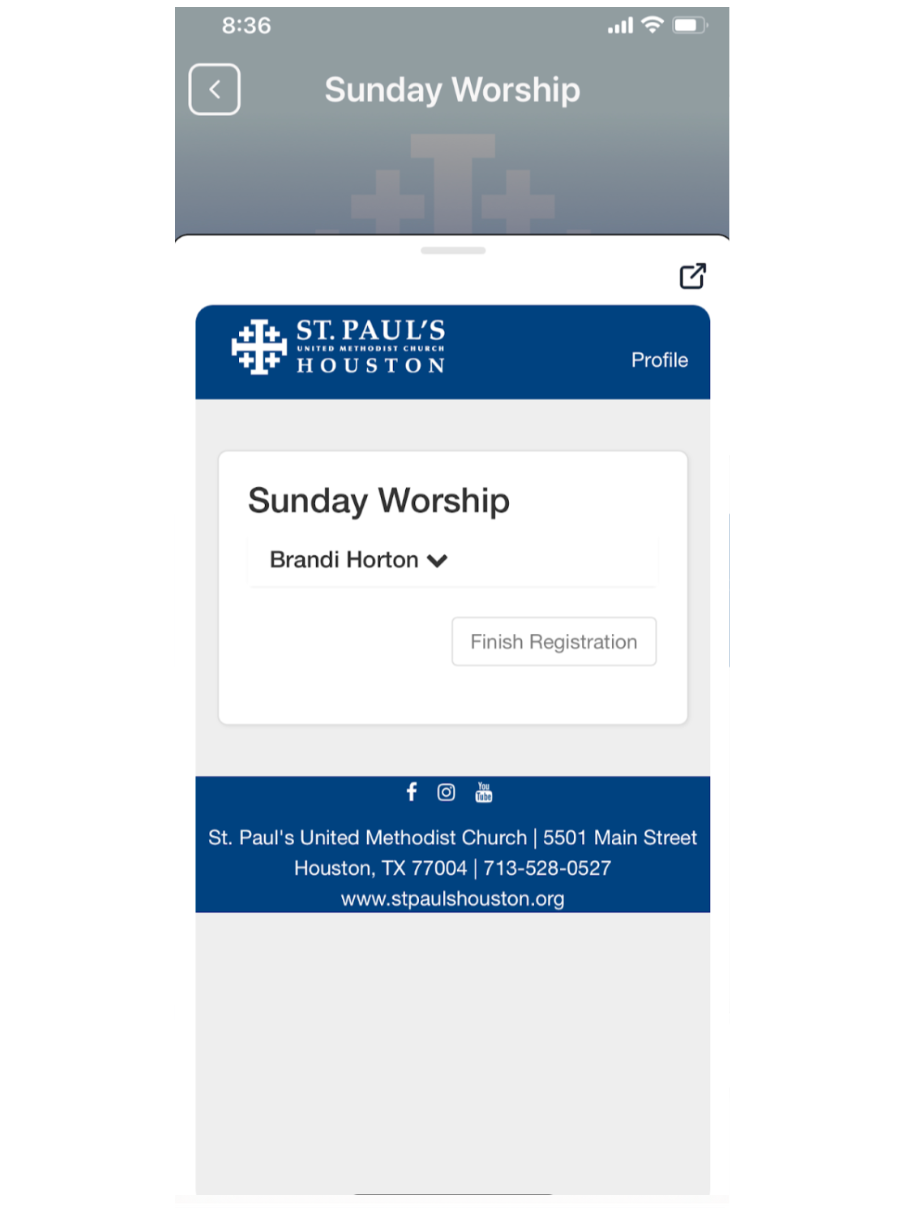
Register your attendance. If you are new to St. Paul’s, this will add you to our system, and let someone know that we have a visitor. We’re glad you’re here!
If you are already part of the St. Paul’s community, this works best with one name from someone in your family (likely an adult) even if multiple people are attending and one other piece of information. I normally put in my email address. This allows the system to verify your identity because we do have members and regular attendees with the same name. It will then give the appropriate person credit for attending worship.

Step 5:
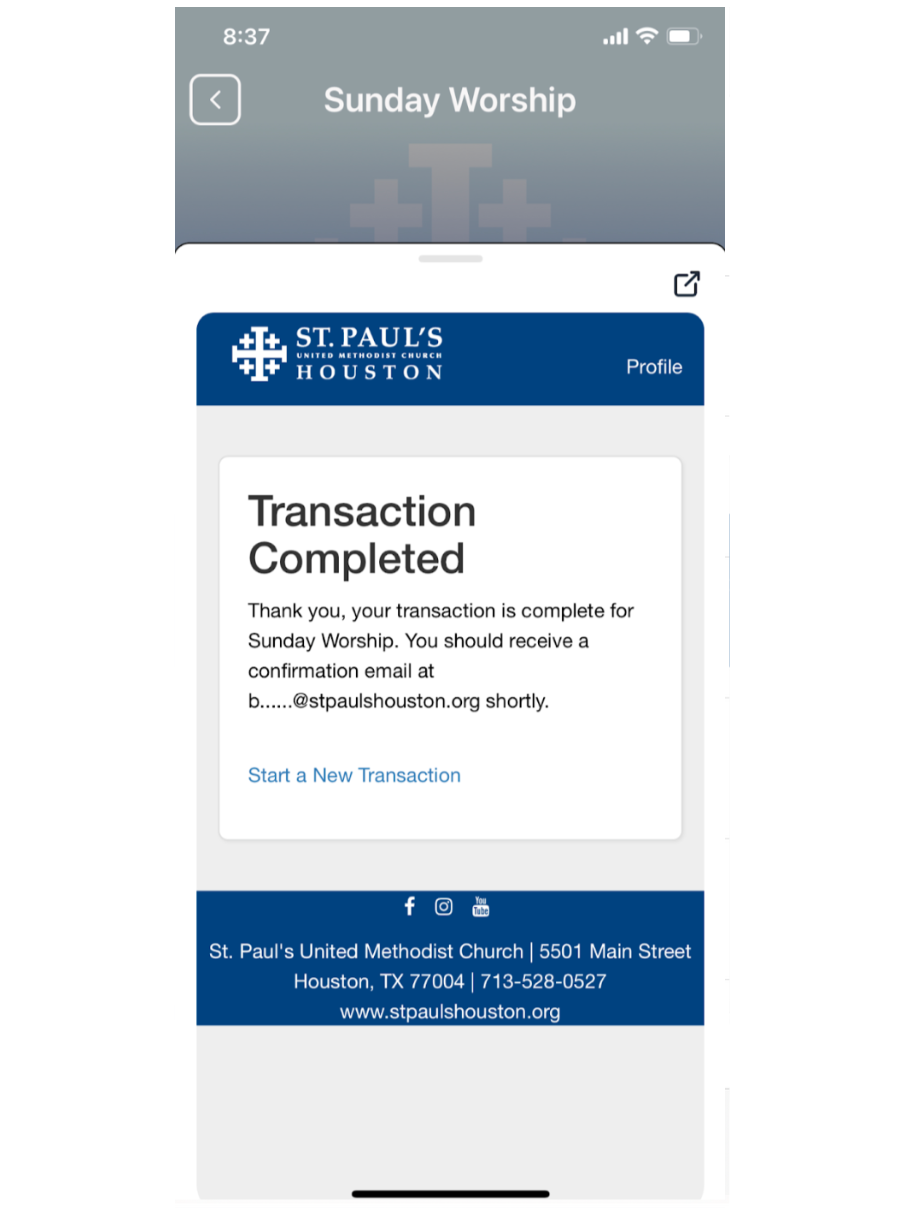
Hit “next” once you have completed the information that you will enter that day. The below screen will show up. You can be done with your attendance registration at this point if you would like. It says the system is sending you an email to “manage your registrations.” The only reason you would need to pay attention to this is if you have other people in your family you want to add.

Step 6:
If you need or want to register other family members, go to your inbox and look for an email from the system. Right now, it says “Brandi Horton” as sender (though I’m hoping to change this to “St. Paul’s United Methodist Church”) and “Manage My Registration” as the subject.

Step 7:
Open the email to find the one-time use link, and click on it. If the system has timed out on worship or the link has already been used, it will not let you use it.

Step 8:
Either add or confirm the attendees in your party. Since you gave the system information about you, it should pull up names of people in your family. If you add another person here, they will be linked to your profile.

Step 9:
Hit submit when you have finished checking additional family members in attendance or adding members to your party. You will also receive a final email from the system after this step.